If you own AirPods Pro, you know how crucial it is to have properly fitting ear tips for the best audio experience. Over time, these tips may wear out or get lost. Fortunately, replacing them is a straightforward process. In this guide, we’ll walk you through the steps to replace your AirPod Pro tips, ensuring you can continue enjoying high-quality sound.
Why Should You Replace AirPod Pro Tips?

Before we dive into the replacement process, let’s understand why it’s essential to replace your AirPod Pro tips when needed:
- Maintaining Sound Quality: Properly fitting ear tips help create a seal in your ear canal, which is crucial for optimal sound quality. If your tips are worn out or damaged, you may experience a loss in audio quality.
- Comfort and Fit: Ill-fitting or damaged tips can cause discomfort during extended use. Replacing them ensures a snug and comfortable fit, even during long listening sessions.
- Hygiene: Regularly replacing your ear tips helps maintain proper hygiene. Over time, earwax and dirt can accumulate on the tips, affecting both fit and sound quality.
Now, let’s proceed with the step-by-step process of replacing your AirPod Pro tips.
Gather Your Materials
Before you begin, make sure you have the following items ready:
- AirPods Pro
- Replacement ear tips (ensure they are compatible with AirPods Pro)
- Clean cloth or tissue
Remove the Old Ear Tips
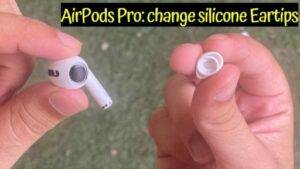
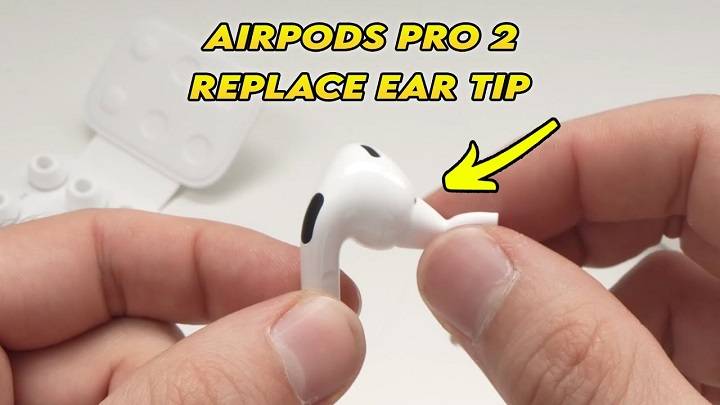
- Gently Remove the Old Tips: Hold your AirPod Pro firmly and, with a gentle twisting motion, remove the old ear tips. Be careful not to apply excessive force, as this may damage the AirPods.
- Clean the AirPods: Use a clean cloth or tissue to wipe any residue or dirt from the AirPods and the area around the tips.
Attach the New Ear Tips
- Select the Right Size: AirPods Pro come with multiple ear tip sizes. Choose the size that fits your ears comfortably and provides a secure seal.
- Align and Attach: Align the opening of the new ear tip with the speaker nozzle on the AirPod. Gently push the tip onto the nozzle until it fits snugly.
- Perform a Fit Test (Optional): In your device’s Bluetooth settings, you can perform a fit test to ensure the new tips create a proper seal. This test helps verify if you’ve chosen the correct size.
Check for a Secure Fit
After attaching the new ear tips, ensure they are securely in place. Gently tug on each tip to confirm they are properly seated on the AirPods.
Test the Audio Quality
Put on your AirPods Pro and play some music or a podcast to test the audio quality. If the tips are properly fitted, you should experience clear and immersive sound.
Regularly replacing your AirPod Pro tips is essential for maintaining optimal sound quality, comfort, and hygiene. By following this guide, you can easily replace your ear tips and continue enjoying the premium audio experience that AirPods Pro offer.
Remember, if you experience any difficulties during the replacement process or have concerns about fit or sound quality, consult Apple Support or seek professional assistance. Enjoy your renewed listening experience with fresh, well-fitting ear tips!


